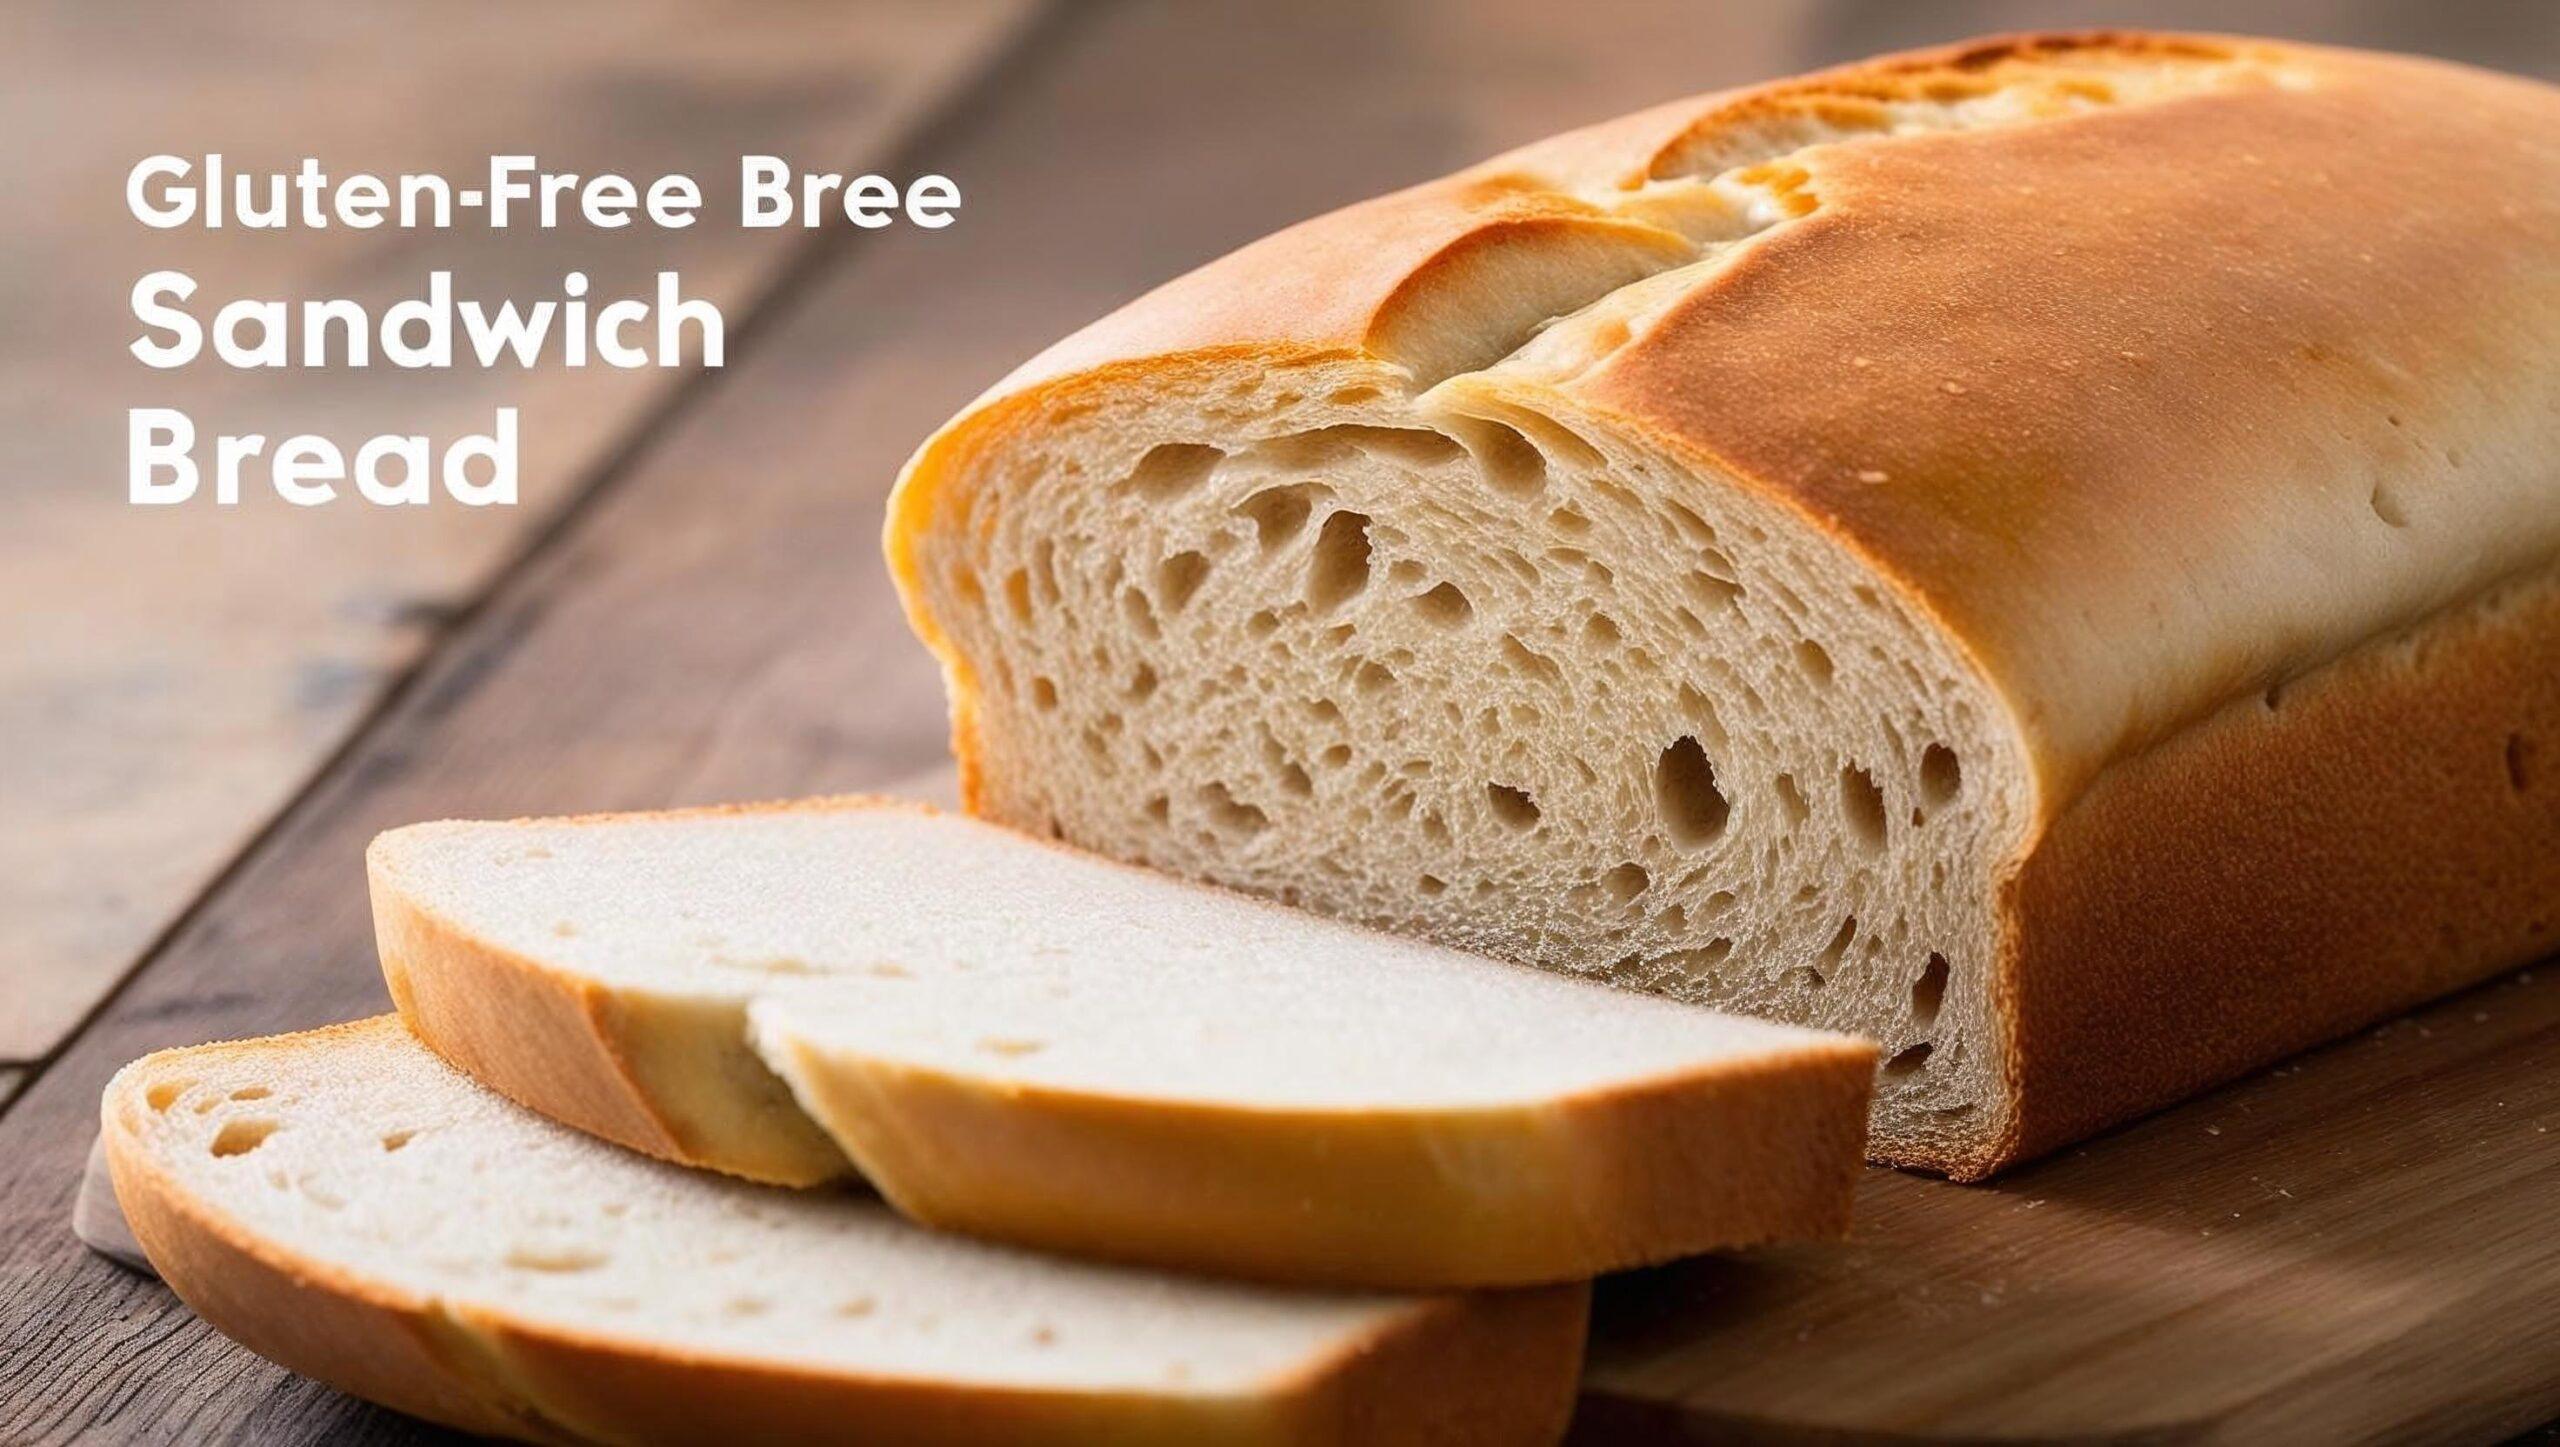
The Best Gluten-Free Sandwich Bread Recipe
For individuals with gluten intolerance or sensitivity, finding a reliable gluten-free sandwich bread recipe can be a game-changer. Gluten-free baking can be challenging, but with the right ingredients and techniques, you can create delicious and healthy bread.
Making your own gluten-free sandwich bread allows you to control the ingredients, ensuring that your bread is not only gluten-free but also rich in nutrients and free from additives. With a simple and easy-to-follow recipe, you can enjoy fresh homemade bread that meets your dietary needs.
By using a tried-and-tested gluten-free baking method, you can achieve a perfect loaf every time. Whether you’re looking for a gluten-free diet or simply want to explore new recipes, this article will guide you through the process of making the best gluten-free sandwich bread.
Why Make Your Own Gluten-Free Sandwich Bread
Making your own gluten-free sandwich bread can be a game-changer for those following a gluten-free lifestyle. By doing so, you can ensure that your bread is made with high-quality ingredients and tailored to your dietary needs.
Benefits of Homemade Gluten-Free Bread
One of the primary advantages of making your own gluten-free bread is the ability to control the ingredients. This means you can avoid additives and preservatives commonly found in store-bought bread. Homemade gluten-free bread also allows for customization in terms of taste and texture, making it a more enjoyable experience for those with gluten intolerance or sensitivity.
Common Challenges in Gluten-Free Baking
Despite the benefits, gluten-free baking can be challenging. Replicating the structure and texture of gluten-containing bread is often difficult due to the absence of gluten. However, with the right techniques and ingredients, these challenges can be overcome, resulting in a delicious and satisfying loaf.
The Perfect Gluten-Free Sandwich Bread Recipe
Making gluten-free sandwich bread at home is easier than you think, and it’s a great way to ensure it’s free from unwanted additives. With the right ingredients and equipment, you can create a delicious and healthy gluten-free sandwich bread that suits your dietary needs.
Essential Ingredients and Their Functions

The key to a great gluten-free sandwich bread lies in its ingredients. You’ll need a blend of gluten-free flours such as rice flour, almond flour, and coconut flour. Gluten-free flours provide the structure, while xanthan gum helps with texture and elasticity. Eggs act as a binder, and yeast is crucial for the bread to rise. Each ingredient plays a vital role in creating a bread that is not only gluten-free but also soft and flavorful.
Equipment You’ll Need
To make gluten-free sandwich bread, you’ll need a few essential pieces of equipment. A mixing bowl, a measuring scale, and a bread machine or a mixing bowl with a dough hook attachment are must-haves. A bread machine simplifies the process, but you can also mix and knead the dough by hand. Ensure you have a loaf pan to shape your bread.
Step-by-Step Baking Instructions
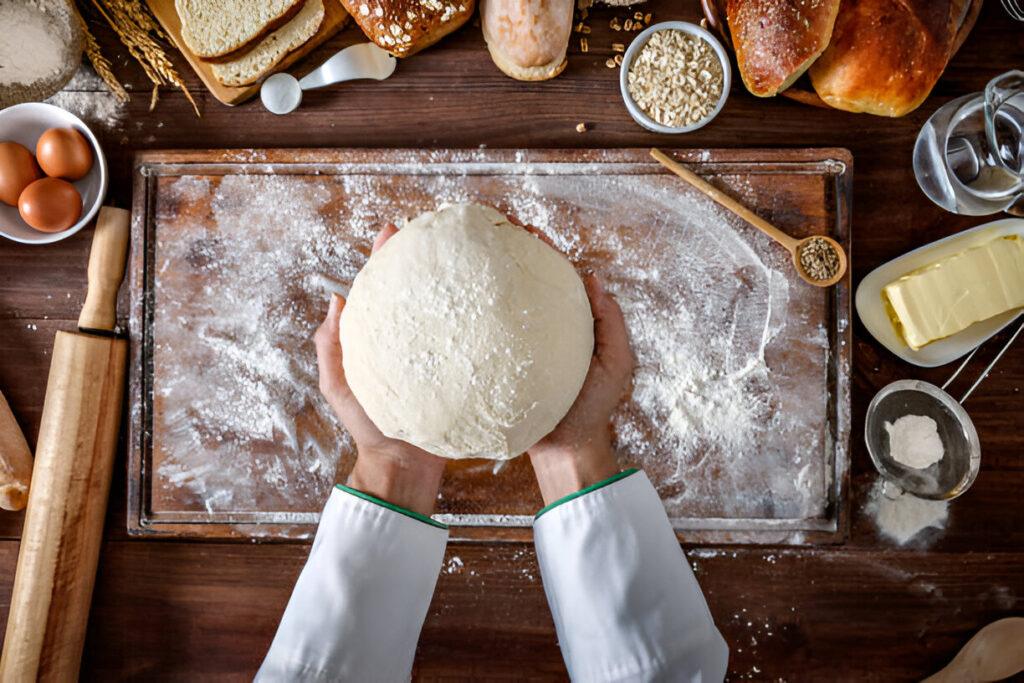
Start by combining your dry ingredients in one bowl and your wet ingredients in another. Gradually add the wet ingredients to the dry ingredients and mix until you have a smooth dough. If using a bread machine, simply add all ingredients and select the gluten-free setting. For manual mixing, knead the dough for about 10 minutes until it’s smooth and elastic. Place the dough in a greased loaf pan, let it rise, and then bake at 375°F (190°C) for 35-40 minutes, or until the bread is golden brown and sounds hollow when tapped.
Storage and Serving Suggestions
Once your gluten-free sandwich bread is baked and cooled, you can store it in an airtight container at room temperature for up to 3 days or freeze it for longer storage. Slice the bread as needed, and enjoy it with your favorite fillings. For gluten-free sandwich ideas, consider using turkey, avocado, and lettuce, or try a classic PB&J for a sweet treat. The possibilities are endless, and with your homemade gluten-free bread, you can create a variety of delicious and safe meals.
Making Gluten-Free Sandwich Bread a Reality
Creating your own gluten-free sandwich bread can be a game-changer for those with dietary restrictions. With the simple recipe provided, you can enjoy fresh, delicious bread without the hassle of store-bought options.
By making your own gluten-free sandwich bread, you can control the ingredients, ensuring they meet your dietary needs. This recipe is a great starting point for exploring the world of gluten-free baking.
With a few simple ingredients and some basic equipment, you can produce high-quality gluten-free bread that rivals store-bought options. So why not give it a try? Start baking your own gluten-free sandwich bread today and discover the joy of gluten-free baking.
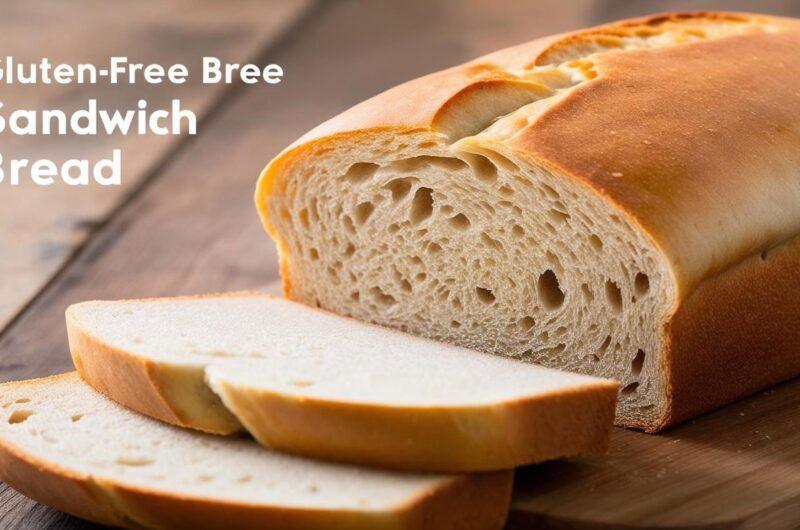
The Best Gluten-Free Sandwich Bread Recipe
Course: Breakfast, Lunch, DinnerDifficulty: Medium12
servings15
minutes1
hour110
kcalDiscover the ultimate gluten-free sandwich bread recipe that’s easy to make and deliciously soft. Perfect for any meal, enjoy fresh, homemade goodness today!
Ingredients
2 cups gluten-free all-purpose flour (with xanthan gum)
1 cup warm water (about 110°F / 45°C)
2 ¼ tsp active dry yeast (1 packet)
1 tbsp honey or maple syrup
3 tbsp olive oil
3 large eggs (room temperature)
1 tsp apple cider vinegar
1 tsp salt
👩🍳 Directions
- Activate yeast: In a bowl, mix warm water and honey. Add yeast and let sit for 5–10 minutes until foamy.
- Mix wet ingredients: In a large bowl, beat the eggs, olive oil, and apple cider vinegar.
- Combine: Add the yeast mixture to the eggs. Stir in the flour and salt. Mix until smooth (a stand mixer helps).
- Let rise: Pour into a greased 9×5” loaf pan. Smooth the top, cover with a towel, and let rise in a warm place for 30–40 minutes.
- Bake: Preheat oven to 350°F (175°C). Bake for 55–60 minutes or until golden and it sounds hollow when tapped.
- Cool: Let cool in the pan for 10 minutes, then transfer to a wire rack to cool completely before slicing.
Recipe Video
Written by Samantha Greene, a gluten-free home cook with over 10 years of experience creating allergy-friendly recipes the whole family can enjoy.


